October 26, 2010

Hong Kong
Airfix Afrikakorps Clones
With Helmets

Today I received a figure lot from the bay and it included a great surprise. Among many other figures it contained about 100 of Hong Kong clone figures of the good old Airfix Afrikakorps set. But these check out the picture below.


The pictures shows on the upper row some figures from the Airfix Afrikakorps set, the lower figures are their clones. Both look equal except for their headgear. The detail of the clones is not too bad, the details could be better, but these are cheap toys, the scale is like their origin's, more 1:76 then 1:72.

I've never seen these (clone) versions of the Airfix AK before, even when I played as a kid with toy soldiers in this scale and I had hundreds of them including AK clones. But mine weared all fieldhats.

Update:
A reader left a comment, that these minis are copies from the old ESCI hardplastic set of the Africakorps, and it seems that he is right. Check out this link to Plastic Soldier Review.

October 23, 2010

New Zvezda WW2
Soviet Figures

I found this post in the Tiny soldiers forum. The linked pictures show the Maxim machine gun with crew, the other announced sets are listed too.

The Russian producer Zvezda brings out a new series of Soviet and German soldier figures and equipment of the second world war in 1:72. As I read it from the post, they will bring out their own rule system for them. They started with the T34/76 some months ago, and today I found first pictures of the upcoming figure sets.

Seems like they are available soon, CW toys has listed them but they are still not deliverable.

I always wanted to keep any advertising out of this blog but sometimes there are some shops worth to be mentioned. I do not receive any bonus for this.

Update:
Paul left a link to more pictures in the comments. And I found some pictures and informations at the Henk of Holland site (here). There are also some more informations on the Zvezda homepage (in Russion but Google translations worked fine). 

Update 04/2018
CW toys has closed it's gates.

October 21, 2010

Armourfast 1:72
Sd.Kfz. 251/1
Part 4

I continued the work on my Armourfast 251's. I wanted to paint them in a generic 3 color camouflage with hard edges. For that I started to mask with tape, but the tape I use was/is not good for this. I made a visit to a local hobby store and bought some masking liquid, the shop owner told me that thau would work.

I painted the whole model in Aquacolor sand (#36116) after that I made spots with the masking liquid to the place that I wanted to keep sand colored.

After that the models got a layer of Revell Aquacolor fern green (#36360). Then I applied the next layer of masking liqid to mark the areas that I wanted to keep green.

The next layer of color was Aquacolor mud brown (#36180), I used it even when it is glossy, I learned some day ago that it won't shine anymore after the last layer of sealing matte paint.

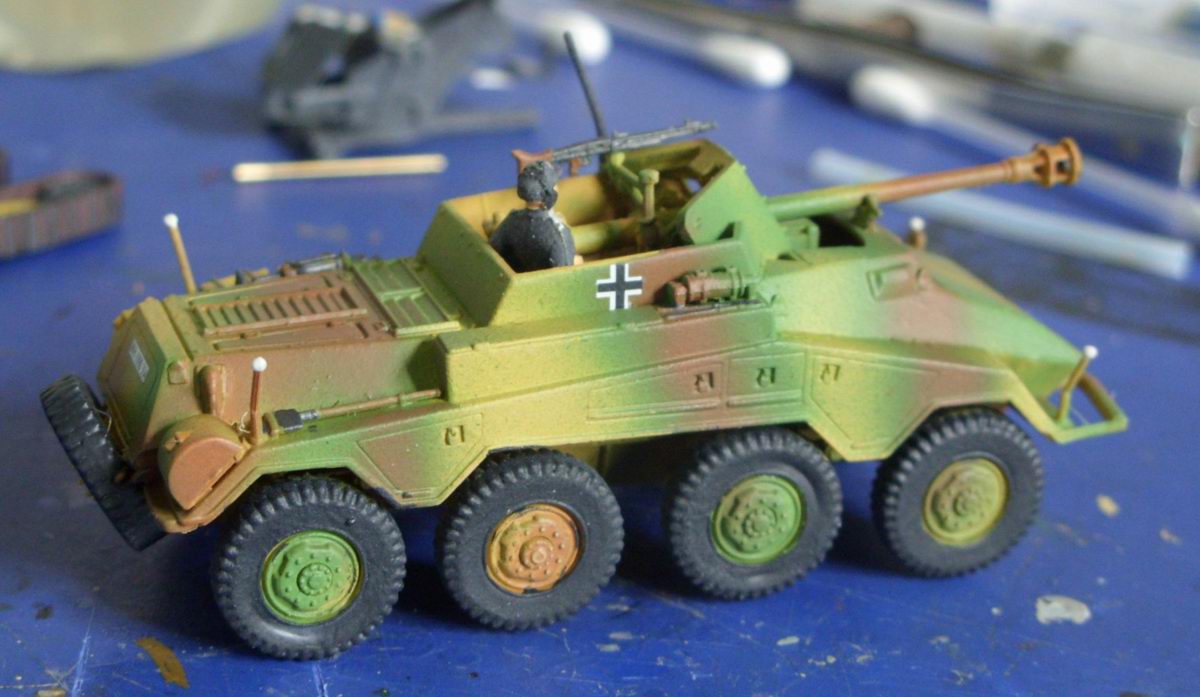
After all the color was dry all I had to do was to remove the masking liquid to see if it worked as I planned. Watch the picture, it worked fine. It was tricky to remove all of the masking liquid (very sticky stuff), but when I was almost finished with it, I found out, that an old toothbrush was a good tool to remove the stuff.
I think this technique will work with normal brushes too, you do not have to own airbrush to use it. And the rmoval of the masking liquid (after it and the colors dried) could be easier if only one thin coat of it is used, as you can see on the first picture I took someting more then was needed.
But it worked :D


On the right 251 I took the antenna apart, it will be fitted later. The funker workplace was improvised without any sources and was scratchbuilt. 
I'm not sure what to do with the two 251s, but I tought about a new idea to apply wash. If I use now a good shiny clear color to seal it, a wash would only flow in the hollow (?) spots of the kit. I will use this method on an old toytank for a first try, if it works, that is something I will try before. You will read it here in this blog, but before that I have to finish some older projects.

The two Armourfast 251 will go now into the "actual projects" box, they will be finished someday because I found some days ago some pictures of an other model of which I own a kit, and these were a great inspiration for me so, but more infos soon, the topic will be Panzer46.
And then I will take some time on my 28mm undead army, I hope tomorrow my new Mantic zombies will arrive,it's time to kick some dwarfs' asses.

October 20, 2010

Armourfast 1:72
Sd.Kfz. 251/1
Part 3

I finished the construction of my Sd.Kfz. 251s. The fenders are a little too low, the wheels fit very closely, luckily I lost one of the wheels therefore I use the wheels of the ESCI 251 which are a bit smaller.
On the following picture is a comparison of the Armourfast, Revell and ESCI frontwheels.


One of them got the pioneer bridge of the ESCI 251 kit, and when I'm at it I will loot another ESCI 251 kit so the other 251 will get a frame antenna. I hope I can attach it without too big spots of glue.
Some tools and other stuff will follow, I have to search my spareparts box for pieces to attach.


Both Armourfast Sd.Kfz. 251 got their base color, is this case I use Revell Aquacolor sand (#36116). I will try to paint them in 3 color hard edged camo pattern, eventually I will do this tonight at least I will try to mask them tonight. Then I have to find some decals for them.

Additional informations about this kit can be found in some older posts (here and here).

October 19, 2010

Italeri 1:72
SdKfz. 234/4


Pictures of my finished SdKfz. 234/4. The figure came with an Italeri kit and doesn't have legs because it was commander of another tank before wher he did not fit with legs.

This kit was build some months ago, I remember that all parts fitted very well. The construction went without problems, but on the next kit I will not glue the wheels before I paint it, this will make it easier to paint.


And I learned something new. I accidently bought glossy mud brown that I used for the camo pattern, but I recognized it after I applied it. That's why the brown in the previous post so shiny, I thought for alsmost 3 hours that the color was still wet.

But after the last layer of matte paint the brown spots weren't shiny anymore. Great, I didn't knew that before, I tought I had to repaint all brown with matte paint.